Welcome stranger, I've been expecting you.
I know what brought you here, it's despair. I know what is out there, I've seen it, and it's not pretty. Bad designs, broken code samples, no container definitions, missing dependency libraries, poor performance, you name it.
I was recently exploring ways to do real time object detection on my Nvidia Jetson TX2. The real time term here simply means, low latency and high throughput. It's a very loosely defined term, but it's used here in contrast to the store-and-process pattern, where storage is used as an interim stage.
High Performance Objection Detection on a Jetson TX2
Starting simple
We'll explore a simple program that detects human faces using the camera input and renders the camera input with the bounding boxes. This one is based on the Haar Cascades and is one of the simplest ways to get started with Object Detection on the Edge. There is no Jetson platform dependency for this code, only on OpenCV.
I'm using a remote development setup to do all of my coding that uses containers. This way you can experiment with all the code samples yourself without having to setup any runtime dependencies on your device.
Here is how I setup my device and my remote development environment with VSCode.
Start by cloning the example code. After cloning, you need to build and run the container that we'll be using to run our code.
Clone the example repo
https://github.com/paloukari/jetson-detectors
cd jetson-detectors
To build and run the development container
sudo docker build . -f ./docker/Dockerfile.cpu -t object-detection-cpu
sudo docker run --rm --runtime nvidia --privileged -ti -e DISPLAY=$DISPLAY -v "$PWD":/src -p 32001:22 object-detection-cpu
The --privileged is required for accessing all the devices. Alternatively you can use the --device /dev/video0.
Here's the code we'll be running. Simple open the cpudetector.py file in VSCode and hit F5 or just run: python3 src/cpudetector.py. In both cases you'll need to setup the X forwarding. See the Step 2: X forwarding on how to do this.

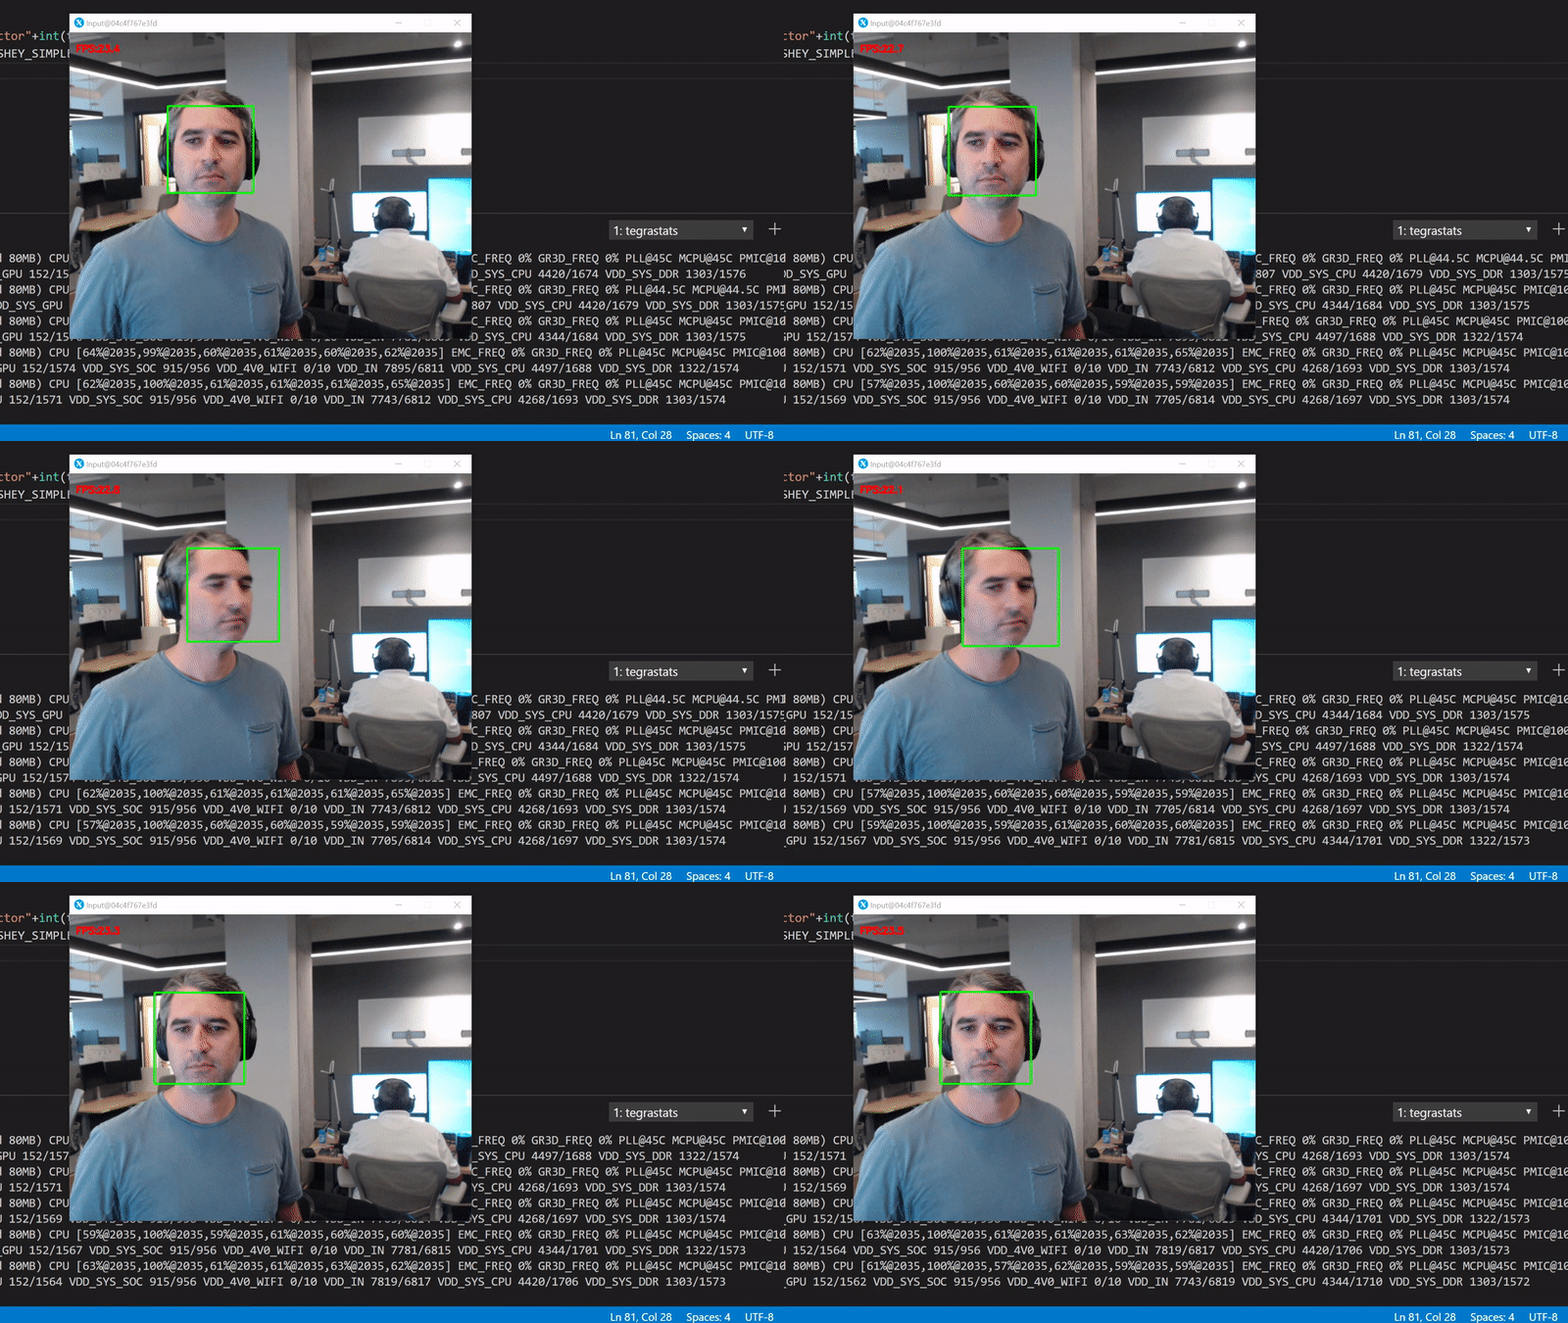
We get about 23 FPS. Use the tegrastats to see what's happening in the GPU:

We're interested in the GR3D_FREQ values. It's clear that this code runs only on the device CPUs with more than 75% utilization per core, and with 0% GPU utilization.
Next up, we use go Deep
Haar Cascades is good, but how about detecting more things at once? In this case, we need to use Deep Neural Networks. We will need to use another container from now on to run the following code.
To build and run the GPU accelerated container
sudo docker build . -f ./docker/Dockerfile.gpu -t object-detection-gpu
sudo docker run --rm --runtime nvidia --privileged -ti -e DISPLAY=$DISPLAY -v "$PWD":/src -p 32001:22 object-detection-gpu
WARNING: This build takes a few hours to complete on a TX2. The main reason is because we build the Protobuf library to increase to models loading performance. To reduce this the build time, you can build the same container on a X64 workstation.
In the first attempt, we'll be using the official TensorFlow pre-trained networks. The code we'll be running is here.
When you run python3 src/gpudetector.py --model-name ssd_inception_v2_coco , the code will try to download the specified model inside the /models folder, and start the object detection in a very similar fashion as we did before. The --model-name default value is ssd_inception_v2_coco, so you can omit it.
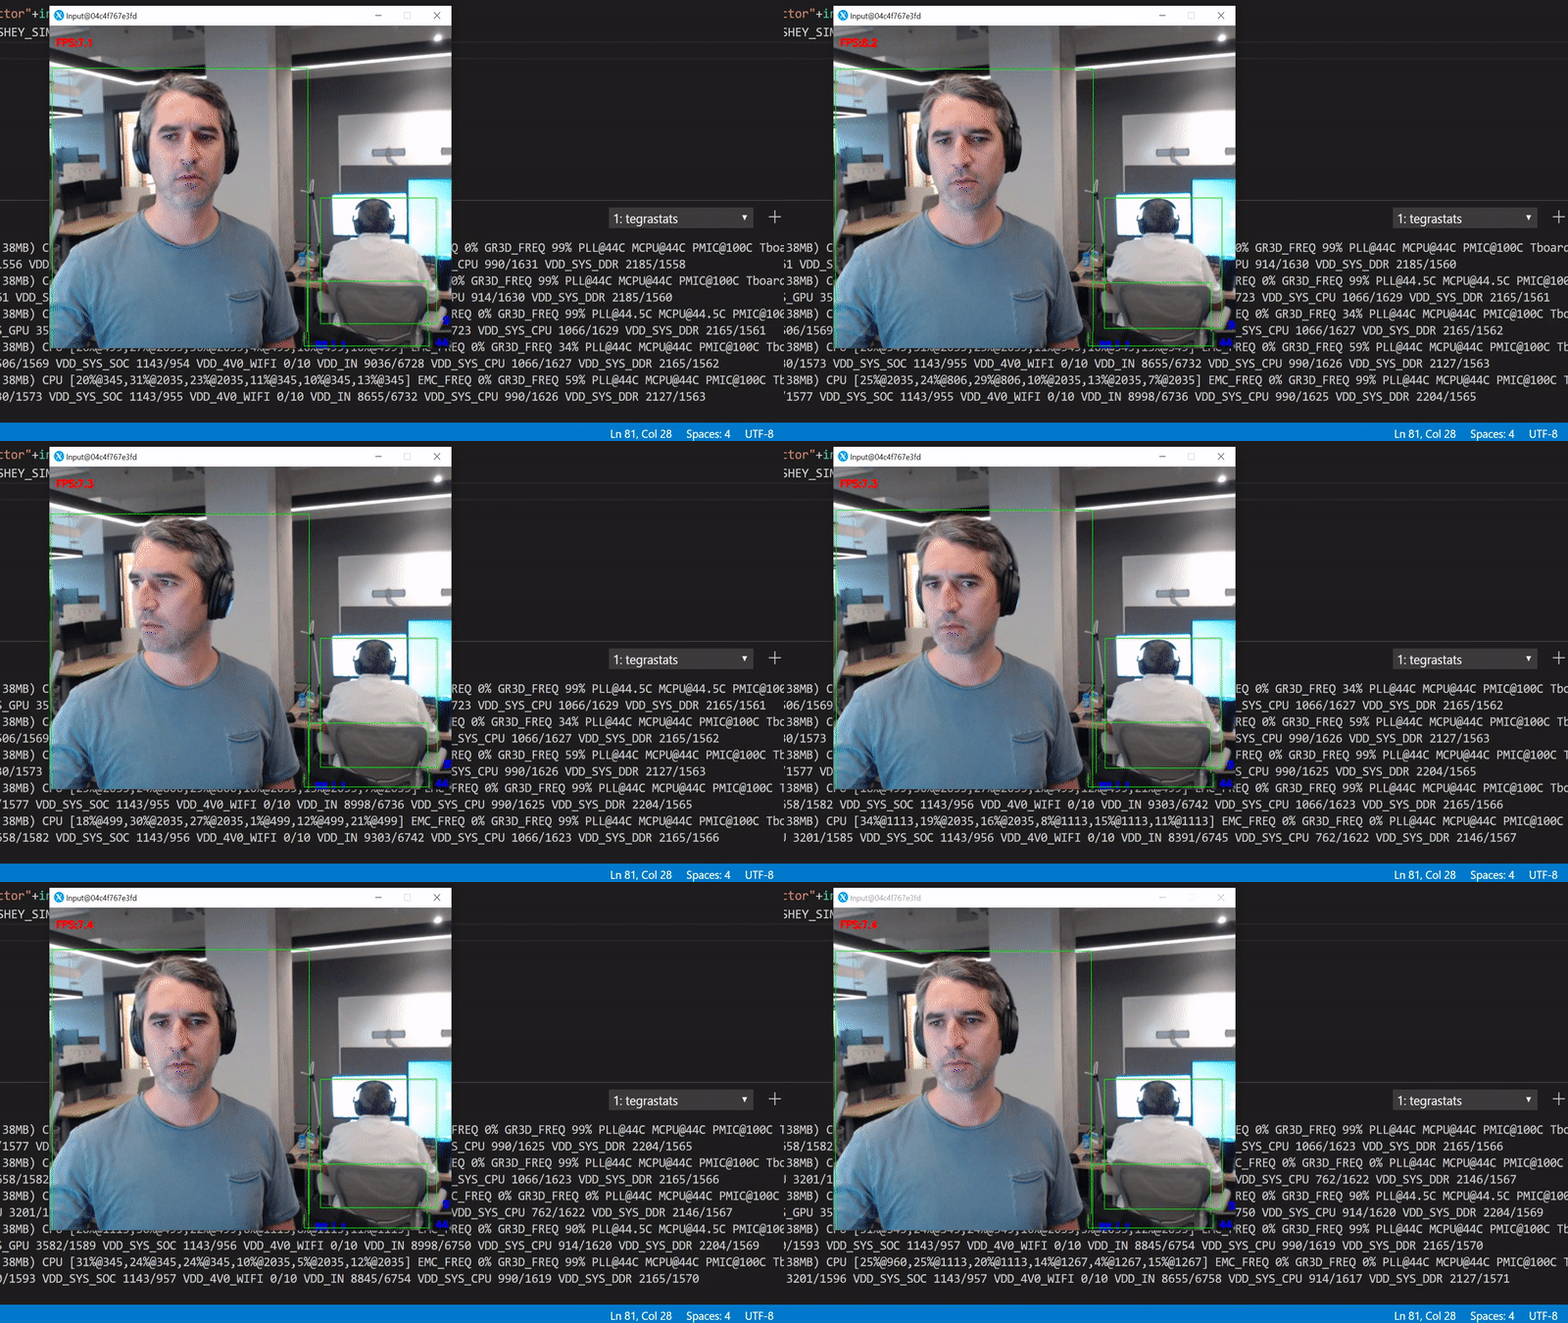
This model has been trained to detect 90 classes (you can see the details in the downloaded pipeline.config file). Our performance plummeted to ~8 FPS.
Run python3 src/gpudetector.py

What happened? We've started running the inference in the GPU which for a single inference round trip now takes more time. Also, we move now a lot of data from the camera to RAM and from there to the GPU. This has an obvious performance penalty.
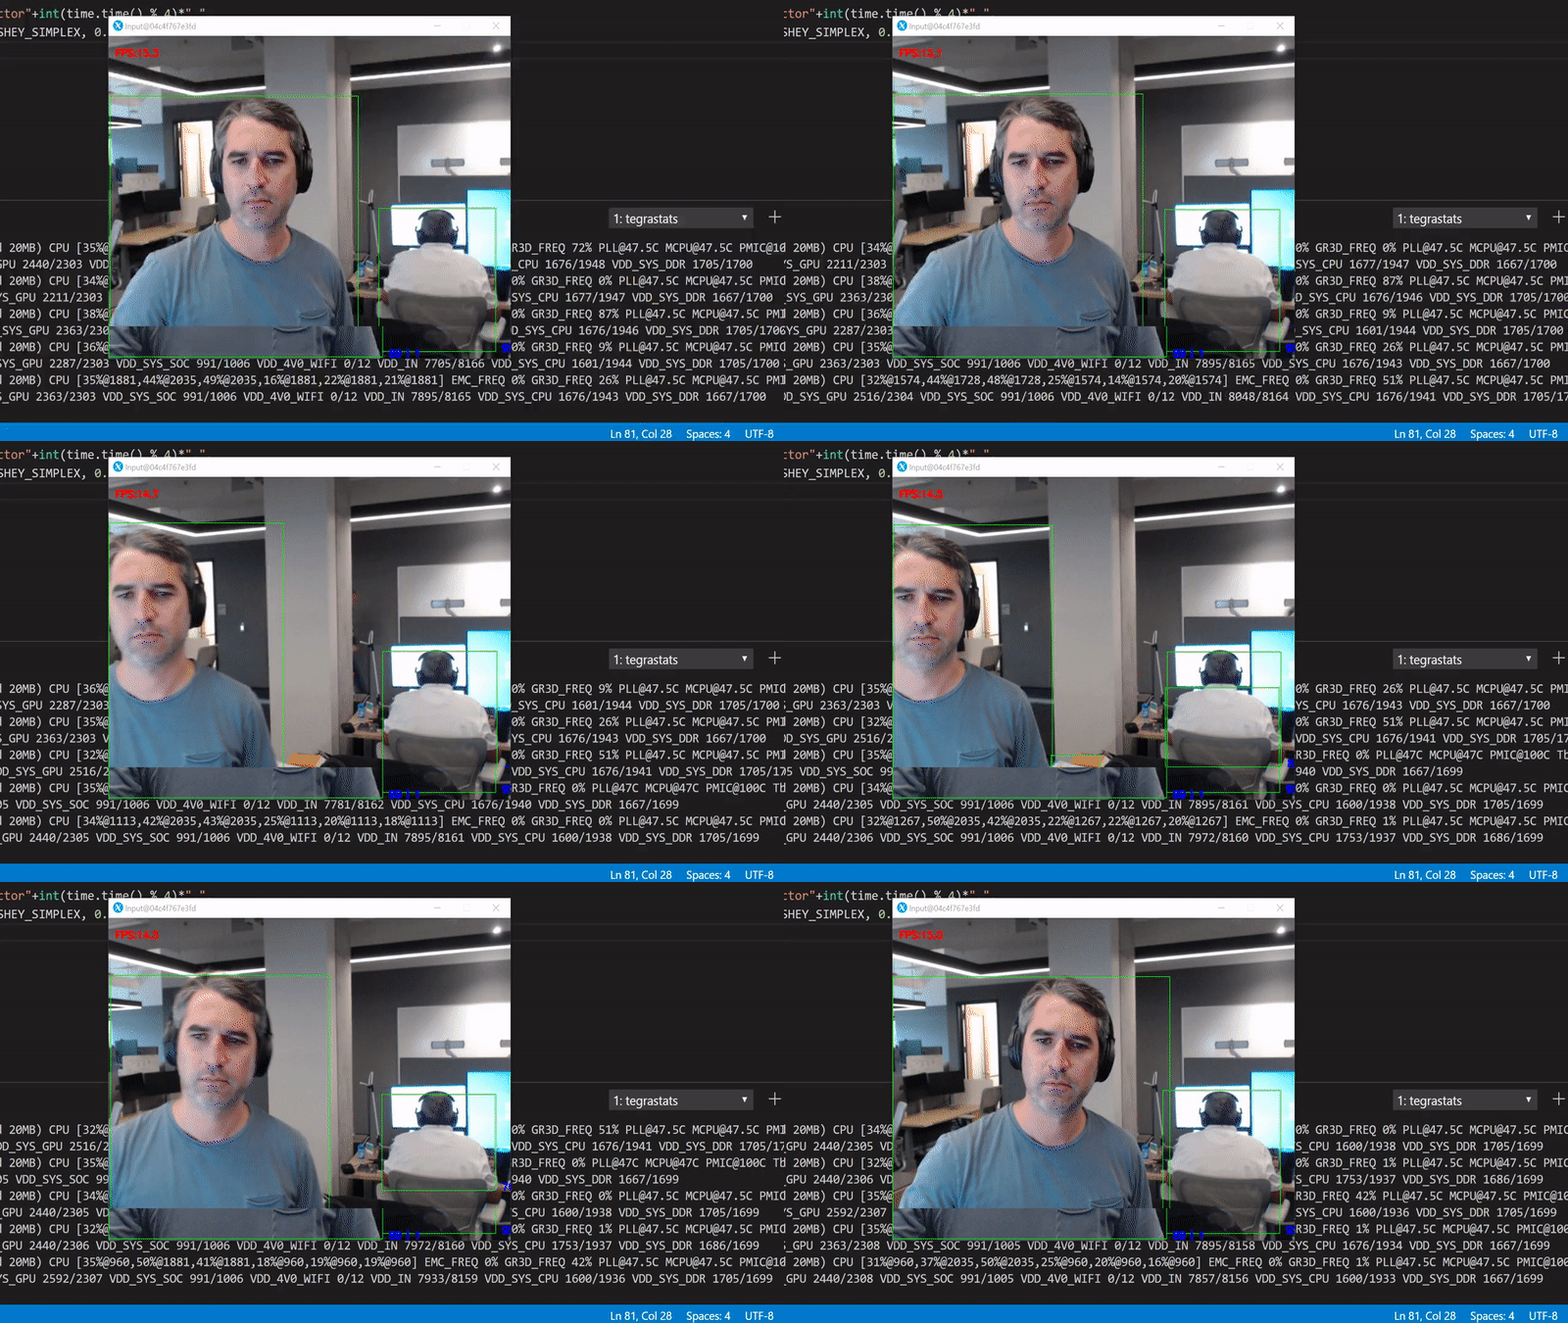
What we can do is start with optimizing the inference. We'll use the TensorRT optimization to speedup the inference. Run the same file as before, but now with the --trt-optimize flag. This flag will convert the specified TensorFlow mode to a TensorRT and save if to a local file for the next time.
Run python3 gpudetector.py --trt-optimize:

Better, but still far from perfect. The way we can tell is by looking at the GPU utilization in the background, it drops periodically to 0%. This happens because the code is being executed sequentially. In other words, for each frame we have to wait to get the bits from the camera, create an in memory copy, push it to the GPU, perform the inference, and render the original frame with the scoring results.
We can break down this sequential execution to an asynchronous parallel version. We can have a dedicated thread for reading the data from the camera, one for running inference in the GPU and one for rendering the results.
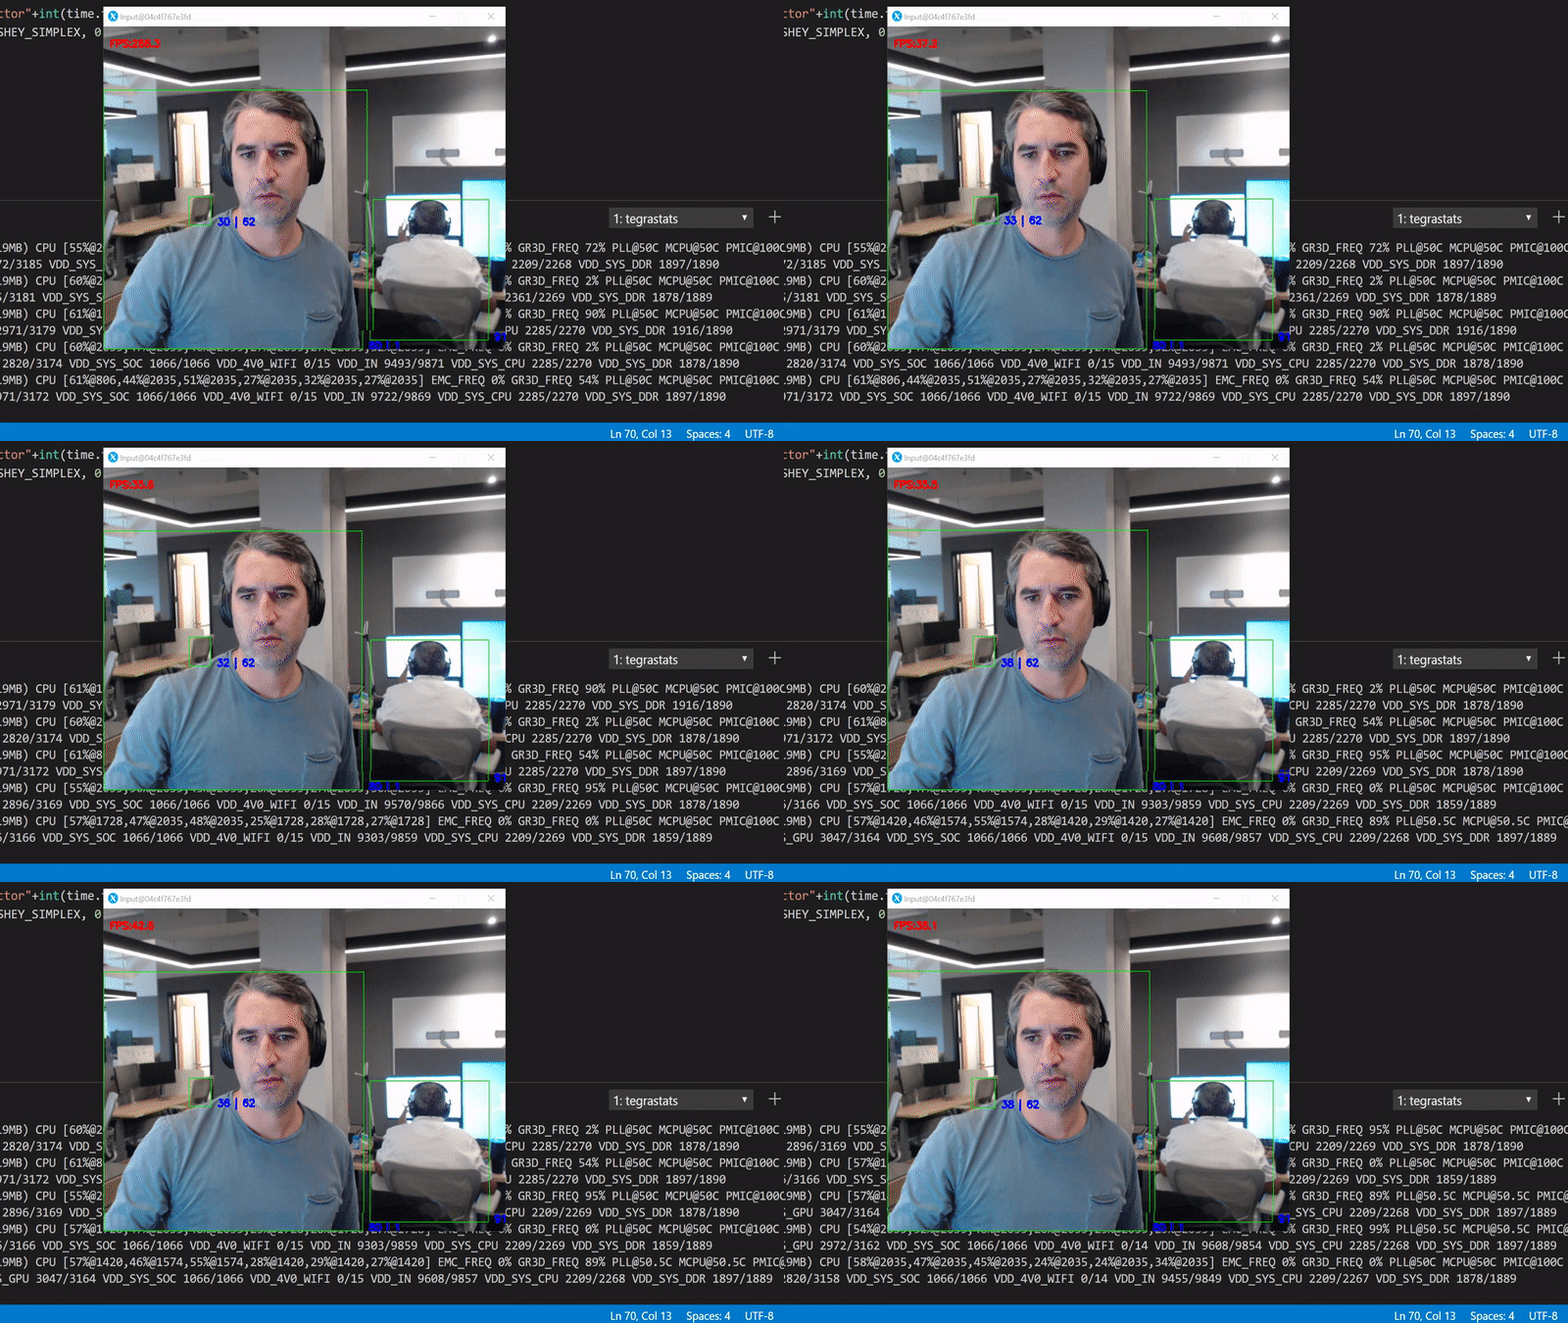
To test this version, run python3 gpudetectorasync.py --trt-optimize

By parallelizing expensive calculations, we've achieved a better performance compared to the OpenCV first example. The trade off now is that we've introduced a slight delay between the current frame and the corresponding inference result. To be more precise here, because the inference now is running on an independent thread, the observed FPS do not match with the number of inferences per second.
What we have achieved: We've explored different ways of improving the performance of the typical pedagogic object detection while-loop.
Next, in this post we'll explore how we can improve even more our detector, by using the DeepStream SDK.
